Ardem Guides
Ardem First Base Location Guide: Water, Roads, and Power Access
Choose a first-base search area by water, road access, shelter, power potential, and safe return routes without inventing unreleased map coordinates.
Last reviewed 2026-09-05 · Evidence: editorial
Check the Ardem map evidence index before treating a route, landmark, or base suggestion as a verified location.
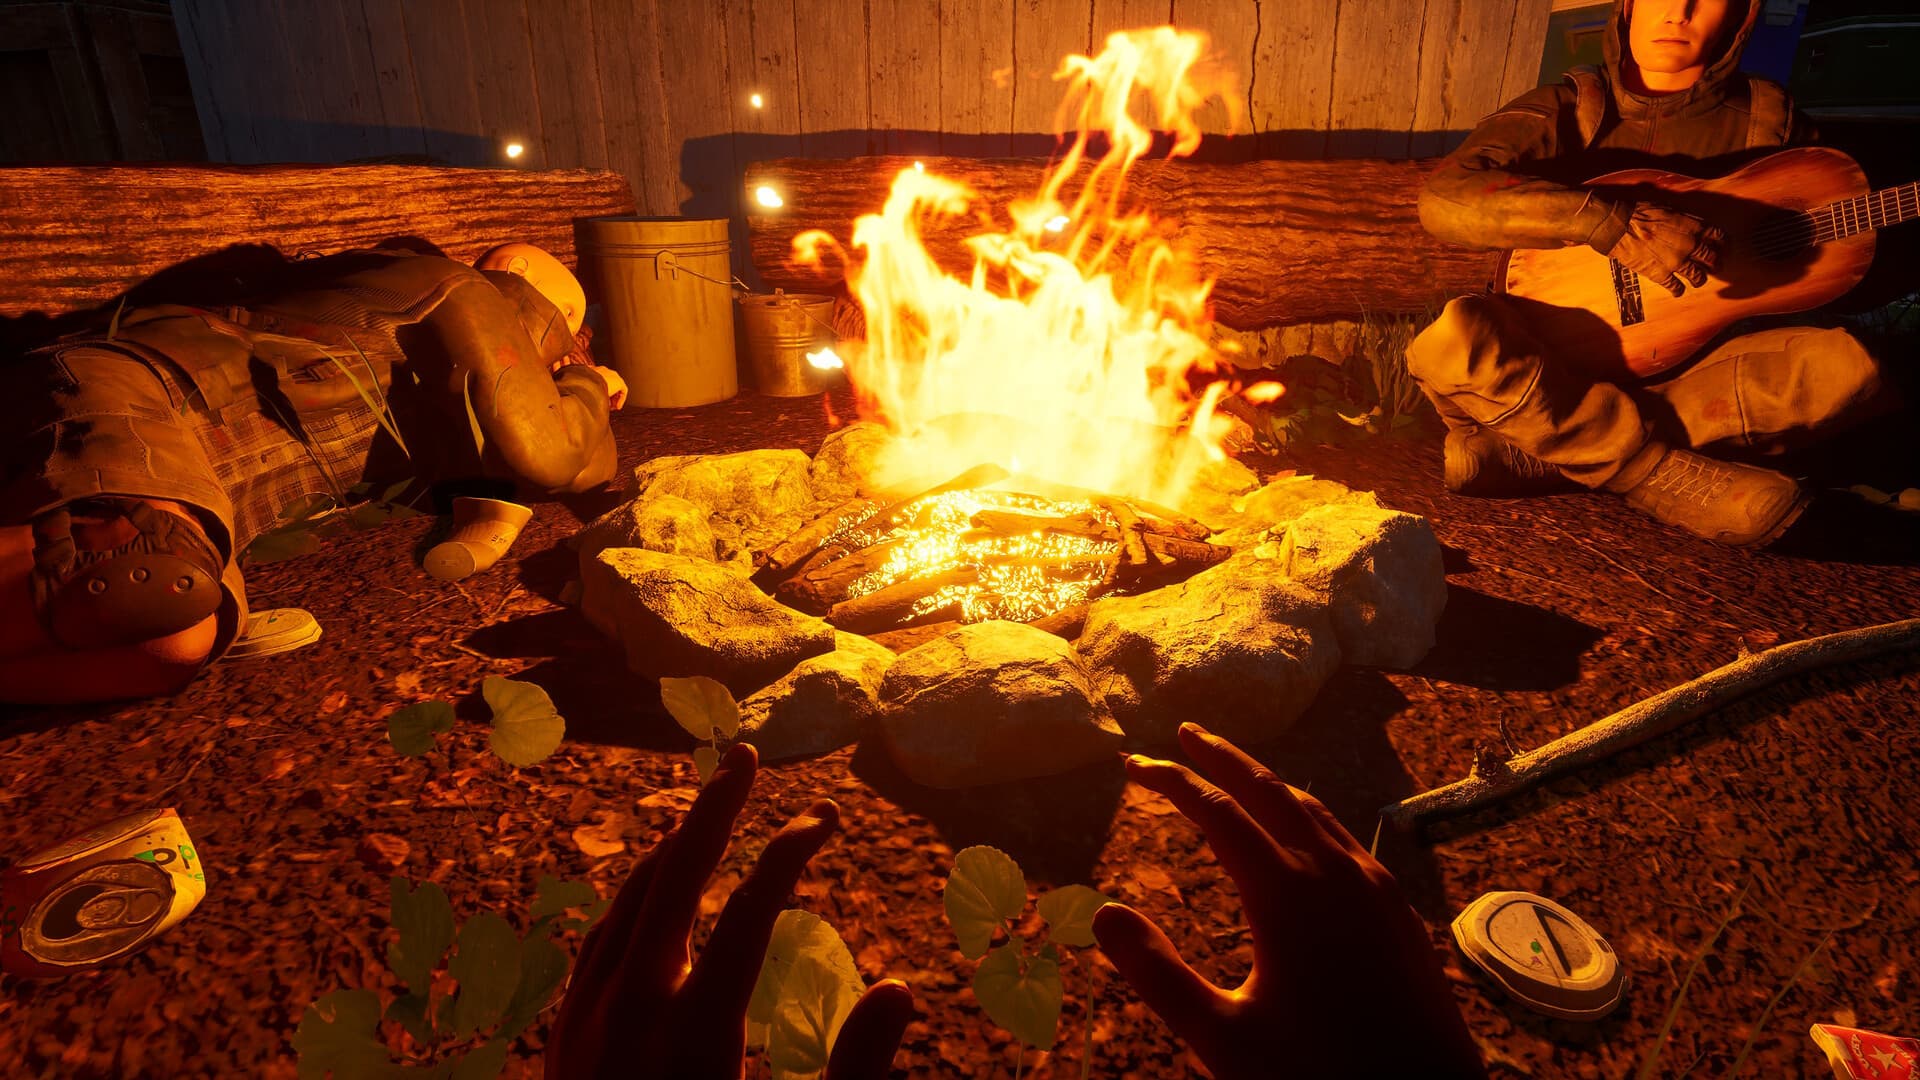
| Topic | Ardem First Base Location Guide: Water, Roads, and Power Access |
| Game | Ardem |
| Category | Guides |
| Editorial score | 99 |
| Primary source | Official Ardem site |
| Last reviewed | 2026-09-05 |
| Evidence | editorial |
Survival route card
Build the next safe step
Use this page to decide what protects the next run: shelter, water, power, transport, or co-op roles. The current route is grounded in Official Ardem site; exact recipes, repair costs, and map values remain deliberately unfilled until a public build confirms them.
Guides strategy table
| Location signal | Why it matters | Evidence level |
| Water access | Reduces repeated survival travel | Editorial priority based on confirmed survival systems |
| Road connection | Supports vehicle recovery and repeatable supply routes | Officially supported systems; exact map routes unverified |
| Existing shelter | May reduce early setup exposure | Visible-world planning; final building rules unverified |
| Power potential | Connects the base to advertised electricity restoration | Confirmed topic; locations unverified |
| Safe return route | A base is useful only when trips can be repeated | Editorial route criterion |
Scenario-based recommendations
This section is written as practical editorial guidance: choose by scene, role, route, enemy pressure, or player goal rather than chasing a universal best answer.
Scenario matrix
| Town-edge base | Balances loot access, roads, and retreat routes. | First week and co-op teams | Players who want deep wilderness isolation |
| Rural utility base | Pairs power planning with safer expansion space. | Builders and electricity-focused groups | Early players without vehicle access |
| Roadside vehicle base | Turns fuel, repair, and hauling into the main progression loop. | Scavengers and drivers | Players who cannot defend frequent traffic |
| Remote fallback cabin | Good for safety and storage but weak for fast resource cycling. | Solo cautious players | Groups chasing rapid growth |
What to pick and when to avoid it
Builder
Best for: Town-edge or utility base
Avoid when: When no one scouts fuel and food
Base growth depends on supply rhythm, not only walls.
Scavenger
Best for: Roadside routes
Avoid when: When the base has no storage plan
Scavenging needs a return system.
Driver
Best for: Vehicle-first base
Avoid when: Before fuel and parts are secured
Transport turns distant resources into realistic goals.
Comparison table
| Ardem | Base placement and system restoration | Choose by logistics |
| Project Zomboid | Safehouse and town knowledge | Choose by zombie migration and supplies |
| 7 Days to Die | Horde-night defense | Choose by defense geometry |
| The Long Dark | Shelter and weather survival | Choose by warmth and travel risk |
The best first base is not the prettiest place. It is the location that makes the next three resource trips safer and more repeatable.
Direct answer: what should a first base be near?
Start by looking for water, a road, defensible shelter, and a short repeatable scavenging loop. Electricity and vehicle access should influence the choice, but no current public source supports naming a definitive best coordinate.
How to compare candidate locations
Score each candidate on water, route visibility, shelter, storage potential, road access, and the cost of returning after a failed trip. A visually impressive site is weaker if every supply run becomes a one-way expedition.
Evidence boundary before launch
Official sources support the broad world, vehicle, base, and electricity systems. Spawn points, resource density, hostile pressure, build restrictions, and exact POIs remain unverified until public hands-on evidence exists.
Action checklist
Balances loot access, roads, and retreat routes.
Pairs power planning with safer expansion space.
Turns fuel, repair, and hauling into the main progression loop.
Good for safety and storage but weak for fast resource cycling.
Media and source board
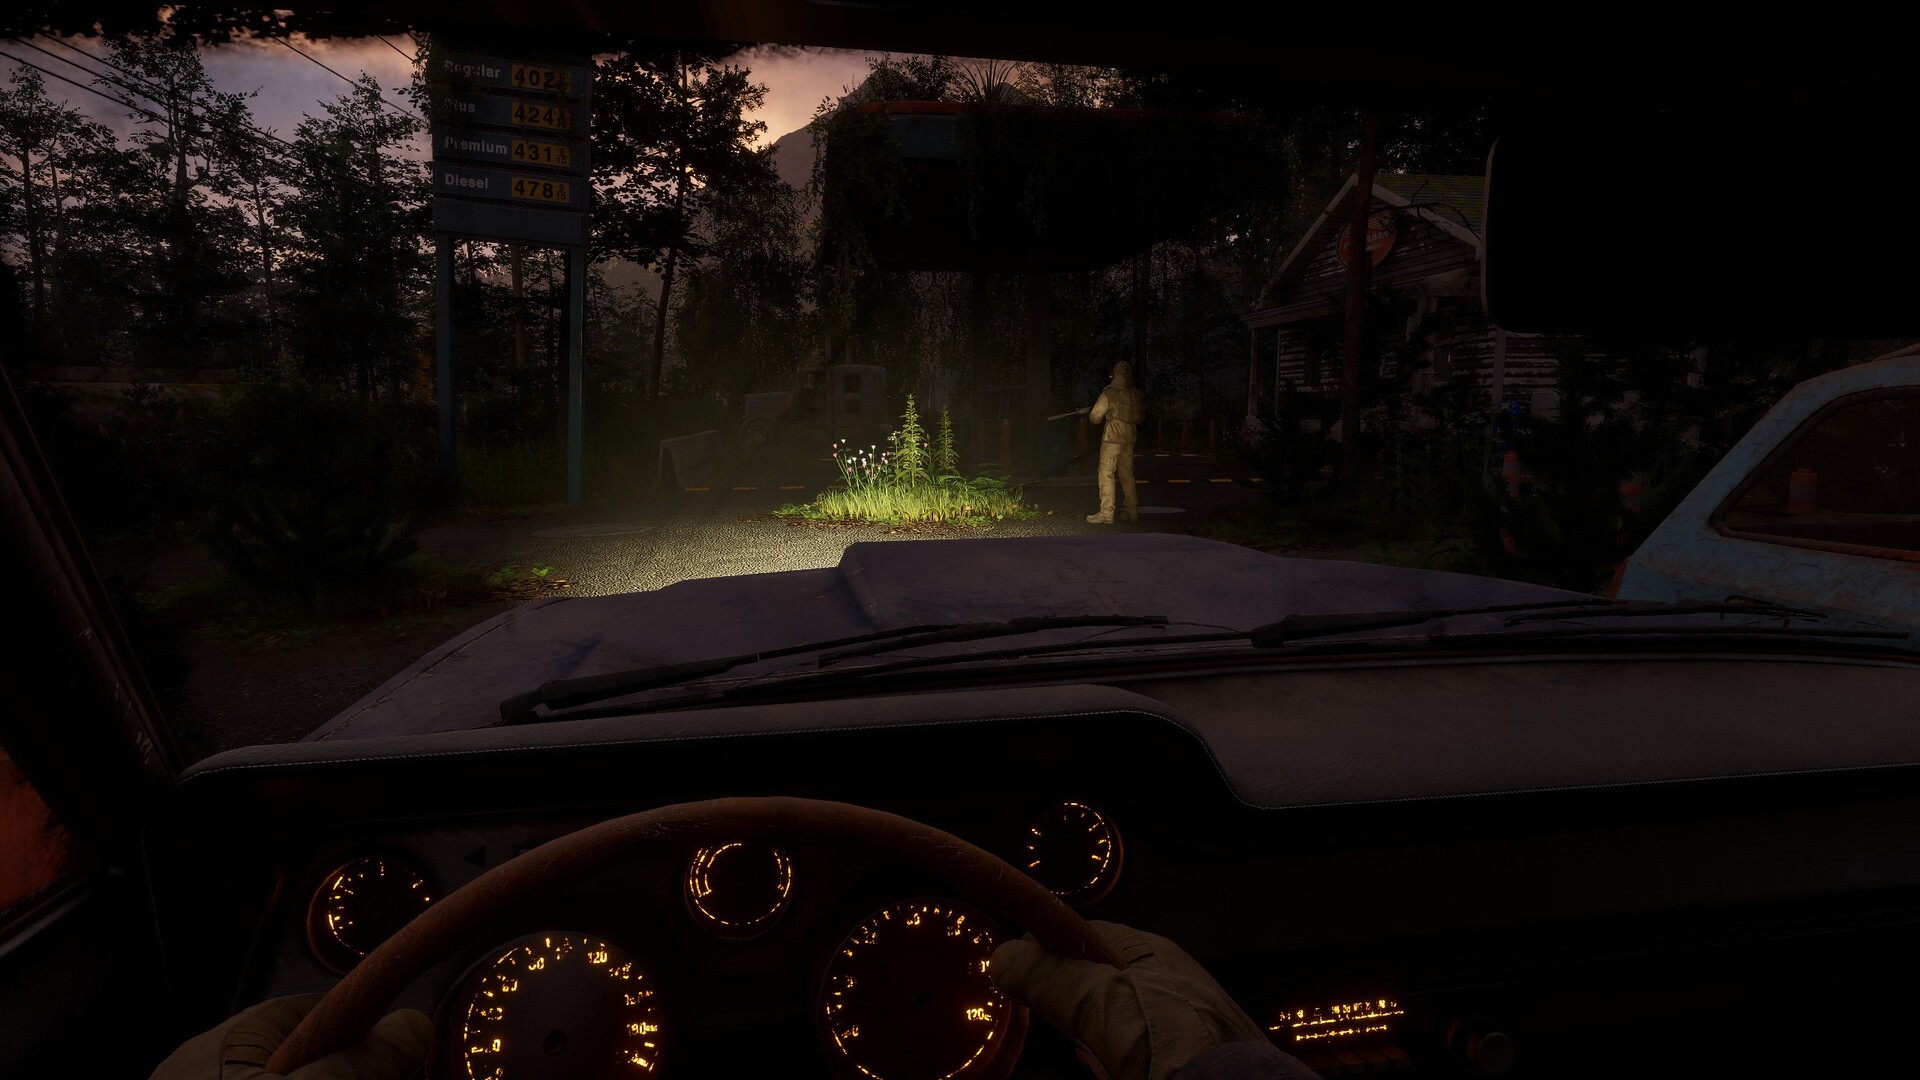 Official Steam screenshotPublic game media
Locally mirrored from the public Steam media gallery for contextual guide coverage.
Useful for visible survival flow, base interactions, UI rhythm, and travel pacing.
Primary source for release wording, public screenshots, tags, system requirements, and platform wording.
Best high-level source for the game's own positioning, world name, feature pillars, and playtest messaging.
Source and credit
This page summarizes public information and editorial interpretation. Primary source: Official Ardem site.
Next read path
Use this path to keep reading by intent instead of jumping through random links. It connects this page to the closest source, strategy, database, or verification hub.
| Ardem beginner mistakes | /beginner-mistakes | Avoid common mistakes before applying guide advice. |
| Ardem editorial tier list | /tier-list | Compare this guide topic with broader priorities. |
| Ardem expert guide cluster | /expert-guides | Move from basics into deeper planning. |
FAQ
Is this an official recommendation?
No. It is an independent editorial guide based on public sources, visible footage, and cautious pre-launch analysis.
Why are there no exact damage or stat values?
Exact values should not be invented before launch data, official documentation, or hands-on testing confirms them.
How should I choose between options?
Choose by scenario first: map pressure, role, route, enemy type, economy state, or player preference. Do not chase a universal best pick before the game is fully testable.